Wednesday, April 20, 2011

Spring ~ This week's You Capture Challenge

This week's "You Capture" challenge was Spring.  A couple of the moms in my Lens Baby group and I got a chance to enjoy a nice Spring morning yesterday.  We went and took another shot at the bluebonnets.  Then we went on to the mall for some kid play time and lunch.  My kids were so worn out afterwards and had so much fun.  It was a great day!!  Here are some of my new bluebonnet attempts.  :-)


Wednesday, April 13, 2011

Smiles ~ This week's You Capture Challenge.

This weeks "You Capture" challenge was smiles.  We didn't have a lot of smiles this week because we had a sick little girl.  But we found some time to sneak out this morning and capture a few quick smiles. 


He was definitely ready to get outside and play. 


And thankfully she seems to be feeling a little better today too.  Yay!!


Tuesday, April 12, 2011

Creating Depth - Week 3 of my Photography Class

This past week in my photography class was a lot of fun.  We focused on creating depth in our photos.  Basically what we did was place something in front of the object that we wanted to focus on to give a blur to the foreground of our picture.  Here's some pictures that will probably better describe what I mean.  (The trick was to be fairly close to the object in front that you didn't want in focus.  Then set your focal points on your main object).  It was a lot of fun to try a new perspective.


Saturday, April 9, 2011

Portraits - Week 2 of my Photography Class

Last week we talked about portraits in my photography class.  This is a topic I'm hugely interested in.  We spent our first hour talking about our assignments from the week before and going over some portraits - looking mainly at the lighting, composition and camera settings for each picture.  Then we went to the campus's parking garage and took turns having mini-portrait sessions of our classmates. 

Here are some of the things we focused on about portrait sessions:
  • Atmosphere - Having a good relationship with the person you are taking a picture with is very important to having a good session.  If your subject is uncomfortable or stressed then that will show through in the picture.  So at the start (and throughout) each session it's important to spend time getting to know the people you are taking pictures of to help them relax and  have a good time. 
  • Lighting - The lighting often creates the mood of the picture.  For outdoor portraits, the ideal time to take pictures is early morning, late evening, or on overcast days.  This isn't always possible though so sometimes finding a shady area can help to keep harsh lights out of the people's faces.  If you can't avoid harsh sun light then you can use your on camera flash to minimize the effects of the light.  (Hehe...I was a little skeptical of this so I tried it last weekend while taking our bluebonnet pictures and it really did help.)  :-)
  • Camera Settings - We were told the ideal lens length for portraits is between 80 mm and 100 mm.  The longer lens length helps to blur the background more and create a prettier bokeh. 
    • Focus - The most important thing to get in focus on any picture is the eyes and nose.
    • Aperture - To get the sharpest picture it usually helps to set your aperture 1 1/2 to 2 stops above your widest aperture.  (So for example,  if you have a 1.8 lens then your sharpest images would be somewhere between 3 and 4.)  If you are taking pictures of multiple people, you would want to increase the aperture to be around 4 or 5 to help keep everyone in focus - especially if they are on different planes. 
    • Shutter Speed - The shutter speed should be at least the length of your lens (although shooting at a shutter speed less than 60 brings in a greater chance of motion blur.)
    • ISO - The ISO on a clear day should be about 200 or less.  On a cloudy day it should be around 400 or less.  And in low-light indoor type situations it should be around 800 or less.
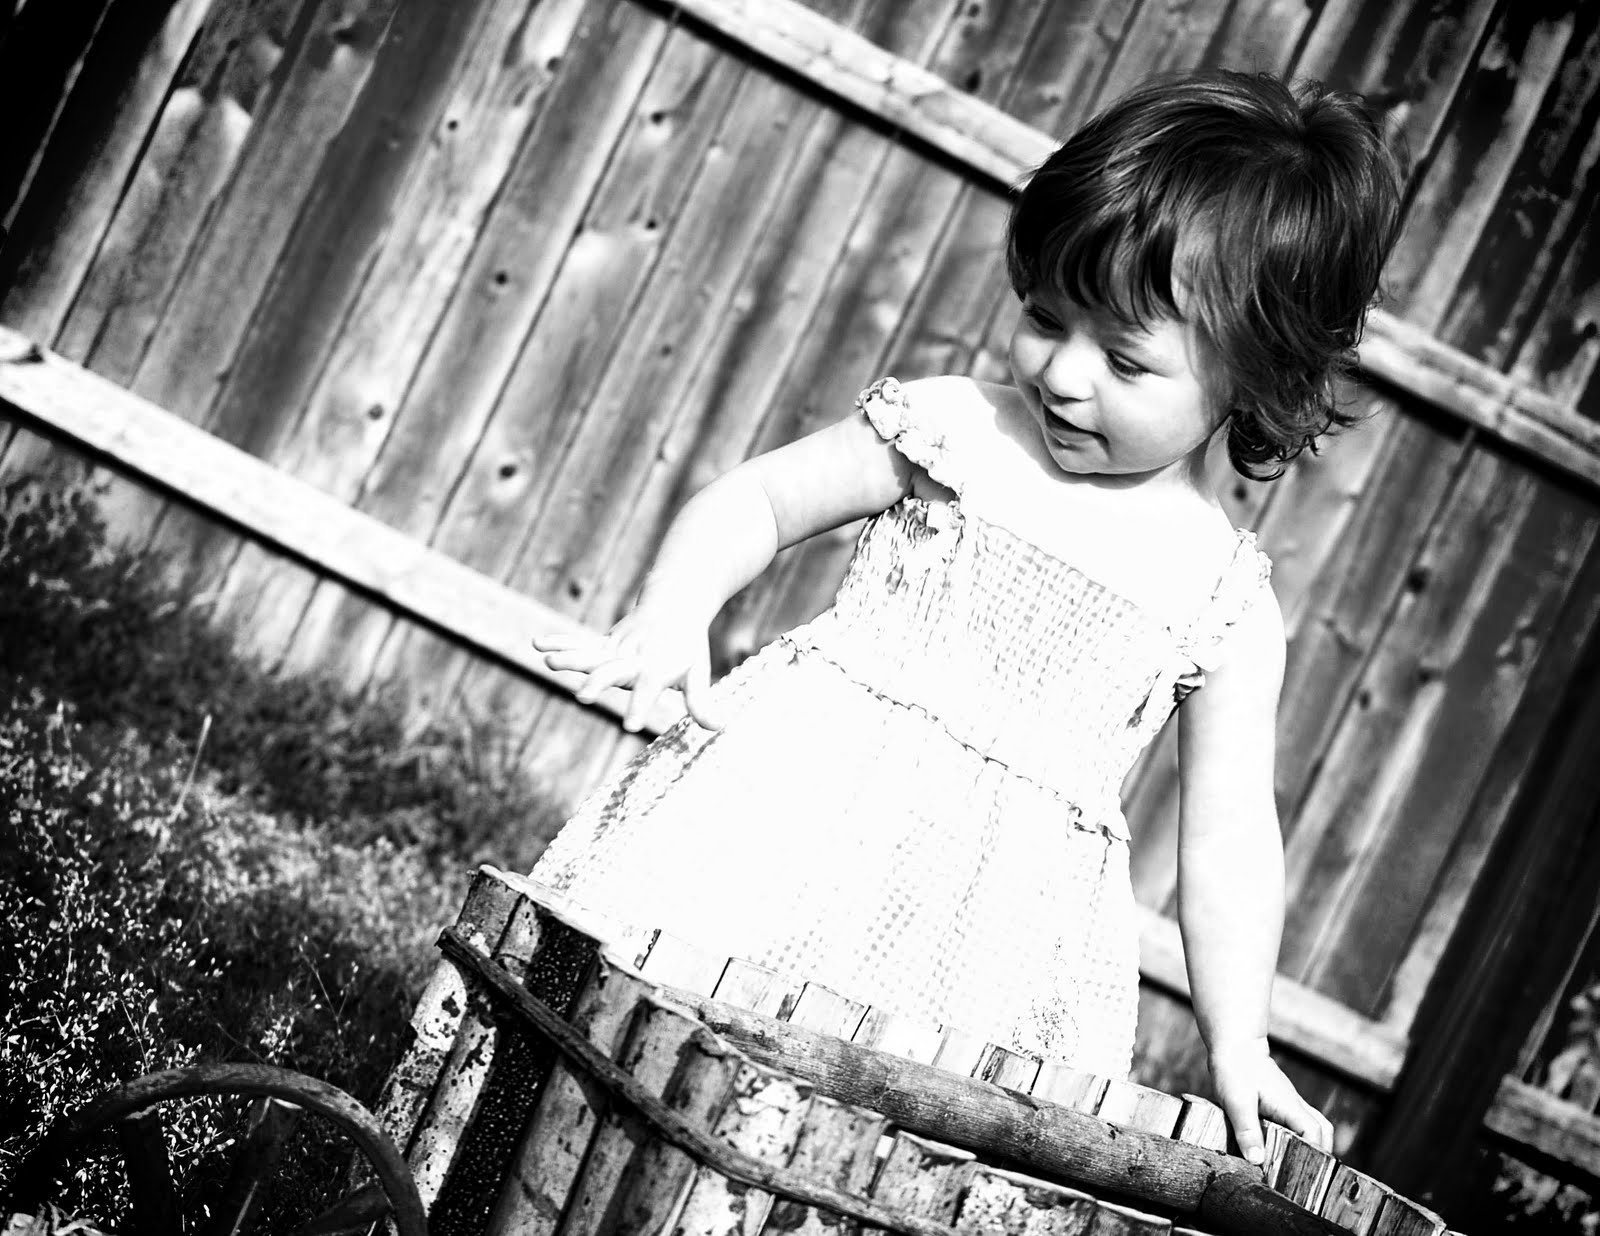
  • Composition - It's often best when taking a picture to get on eye level with your subject.  So if you are taking a picture of kids then you would probably want to get lower to the ground to take their picture.   Playing with your camera angles though can definitely make for interesting effects. 
Of course there are a lot of "rules" to help make your portraits look amazing but there is always room for creativity.  Lots of practice and learning from others work are two things that really help a photographer to discover their own unique style.

That's definitely not a complete summary of everything there is to learn about portraits but I enjoyed the class.  And still can't wait to learn more.  Here are some of the pictures I took during our class time.


***  Please feel free to add any more tips or ideas in the comment section of this blog post.  I really would learn to love more.  And of course if I missed something please let me know as well.  ***

Thursday, April 7, 2011

Some Easter Fun ~ A New You Capture Challenge

Our new "You Capture" challenge this week was fun.  And we had lots of fun today!  One of the mom's in my photo mom's group invited us over to take pictures with bunnies and chicks.  E absolutely loved the baby chicks!!  And I had such a great time watching their expressions.  I already can't wait to do this again next year.  :-)


Wednesday, April 6, 2011

Texas Bluebonnets

It is starting to become a tradition for us to take the kids to get their pictures in the bluebonnets each year.  This was our second year and it was definitely a different experience this year than it was last year.  Last year we took the kid's boppy pillows and laid them in the bluebonnets.  We got great pictures of them together and individually.  This year they were on the move!!  So I didn't get the picture of both of them sitting in the bluebonnets smiling sweetly at their momma.  Is that even possible with 18 month olds??  :-)  But we did get some fun pictures.


Ha!  Please ignore her shoes...I took nice dressy shoes for her but apparently she outgrew them.  Who knew??  :-)


Friday, April 1, 2011

All About Composition - Week One of my Photography Class

I started a photography class last Saturday at the local community college and am so excited about it.  I feel like it's a great opportunity to learn so much.  Our classes start with an hour of lecture followed by an hour of taking pictures and then an hour of question/answer.  Afterwards we are given a homework assignment to work on throughout the week.  This week's assignments were fences and a self portrait. 

Here are some of the things I learned in my first week:
  • Always allow your subject to fill the whole picture.  The campus has some beautiful tulips out front that I was able to take a picture of during our hour of photos.   I talked to the teacher about them and his emphasis was on the composition of the picture - always double checking for the best lighting, focus, and background.  It really made me think more about it when taking pictures.


  • For our fence assignment, the teacher wanted us to capture a fence that went from left to right.  He also wanted us to shoot it in black and white so that we could concentrate on the composition of the picture and not the colors.  There is a fence on the way to Gunter that always catches my eye so I took a picture of that one.


The interesting thing about this picture to me is that when I took it, the composition went from right to left.  The teacher gave us a great tip in class though that Photoshop allows you to flip a picture horizontally.  I was able to change the fence to make it look as if it is going from left to right.

  •  The self-portrait!  This was a tough one.  I decided to go outside in our back yard and try to take a picture of myself laying on the ground.  I put a flower where I wanted my eyes to be so I could focus the camera on that point.  And then once I started the timer I would try to get in the right position.  I tried several different positions in the sunlight, different distances from the camera, and different angles to turn my face to get the most flattering picture.  Honestly I didn't get any I liked but I thought it was a great assignment because it made me think of so many things - getting the focus right, the lighting, how should my hair lay, how should my face be turned, what angle should I shoot at...there is a lot that goes into portrait photography for sure.  I debated about whether to post my self-portrait because I didn't like the finish product but here it is...


Tomorrow's class is about portrait photography.  I can't wait to learn more!!!!
Related Posts Plugin for WordPress, Blogger...